

Anime ExpoJuly 2-5, 2027 Los Angeles Convention Center

Fabric Mask Tutorial

This tutorial was created by Cupcake Cosplay™ in support of the nonprofit organization The Once Upon a Foundation. Their mission is to provide masks to immunocompromised children, their caretakers, and pediatric doctors and nurses.
Per CDC guidance, cotton masks should only be used in the event medical grade supplies are not available. Cotton masks generally filter out 70% pathogens while medical grade will filter out 95% or higher.
Cupcake Cosplay™: Instagram @cupcake_cosplay
The Once Upon a Foundation: Instagram @onceuponafoundation
What You'll Need: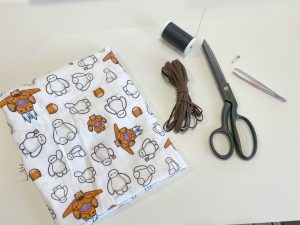
- Tightly woven cotton fabric
- Elastic, ribbon, or bias tape
- Thread
- Scissors
- Safety pin, tweezers, or crochet hook (optional)

Step 1
Cut two large rectangles from the tightly woven cotton fabric, one for the outer layer and one for the internal lining layer. Refer to the list below for recommended fabric sizes.
- Adult: 8.5” x 7”
- Child: 8” x 6.5”
- Toddler: 7.5” x 6”
Step 2
Cut two smaller rectangles for the elastic/ribbon channels. Refer to the list below for recommended fabric sizes.
- Adult: 4” x 2.5”
- Child: 3.5” x 2.5”
- Toddler: 3.5” x 2.5”
Step 3
Place the right sides (patterned sides) of the fabric together and sew the short seams of the rectangles.
Step 3A (Optional)
If you wish to add a pocket for an N95/PPE insert, leave a 2-3” gap in the stitching along the top seam.
Step 4
Flip the mask inside out so that the right sides (patterned sides) are on the outside. Top stitching is optional.
Step 5
Create a 1” box pleat in center of the mask piece. This can be done by finding the center of the mask's side seam and pinching under ½” on each side.
Step 6
Pin remaining fabric into pleats on either side as shown.
Step 7
Pin the smaller rectangles (for the elastic/ribbon channels) to each end of the mask. Pin each end of the mask ½” from the edge of the smaller rectangle.
Step 8
Sew ends sides down. (Optional: serge edges to prevent fraying.)
Step 9
Fold the top and bottom of the smaller rectangle down, then fold the side of the rectangle over to create a channel at side of mask and pin. Repeat on other side.
Step 10
Topstitch inner edge of folded channel. Zig zag stitch is recommended.
Step 11
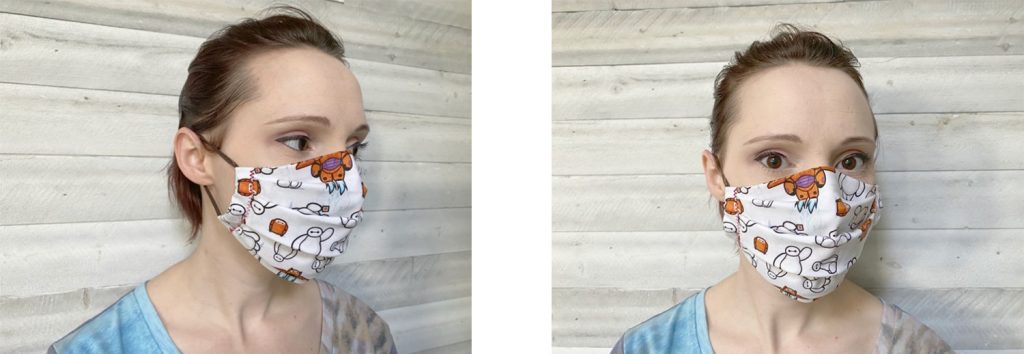
Thread elastic/ribbon/bias tape through the end channels and tie off as needed. Make sure you have enough length to wrap securely around the ear or around the head depending on how you would like to secure it. (We used 12 inches of elastic on each side for an adult mask with elastic around the ear).
Step 11A
There are many ways to thread the elastic/ribbon/bias tape through the rectangle channels. We have used a safety pins and tweezers in one example and a crochet hook for another, but use what you find works easiest.
We hope that you find this quick and simple tutorial helpful. Hope everyone stays safe and healthy!
Cupcake Cosplay™
Facebook: www.facebook.com/cupcakecosplay
Instagram: @cupcake_cosplay
Sign Up for Our Newsletter
Attention!
You are leaving the Anime Expo website!